SIMPLIFIED KOMBUCHA AT HOME
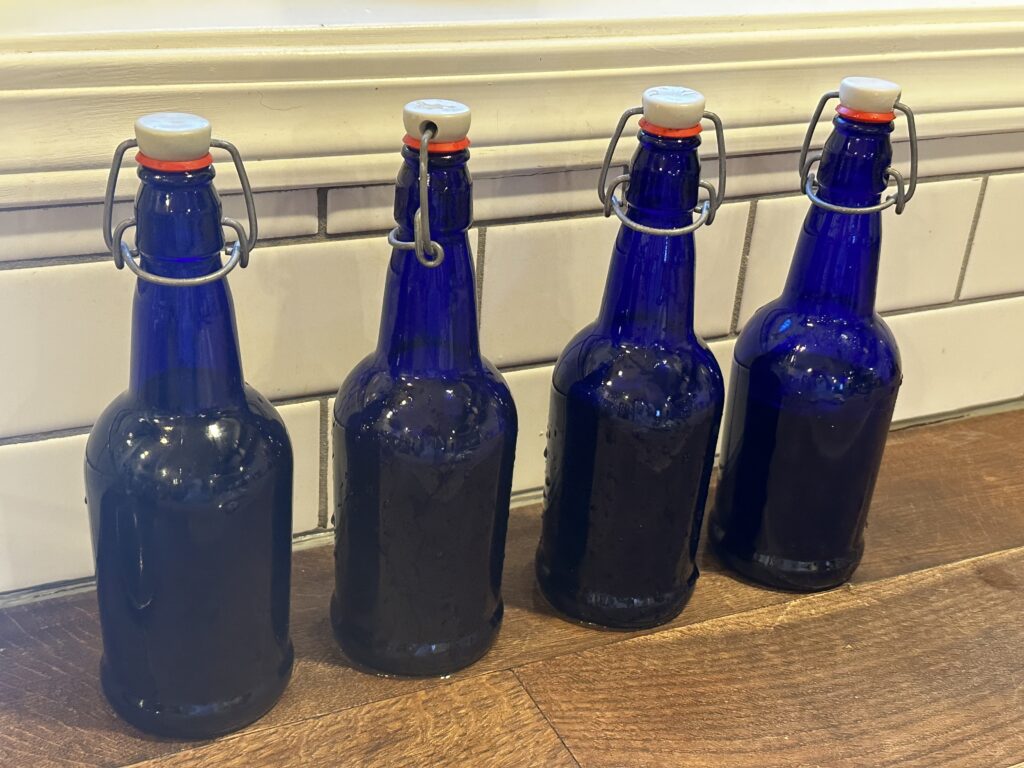 Making your own kombucha at home is simple and fun!
I started making my own kombucha over 10 years ago when my kids were little and before it was a well-known thing. They quickly became huge fans of kombucha, and buying store-bought all the time for a family of our size is not a sustainable option. So I bought a scoby and dove into learning how to make this magical potion.
The health benefits of kombucha are what initially piqued my interest. This is a fizzy drink made simply by fermenting sweetened tea that transforms into a probiotic drink full of good bacteria for your gut and improves digestion, plus something my family loved – a mom’s dream come true!
Fast forward several years, selling that home, buying bare land, and starting from scratch and I ended up taking a break from kombucha for some time. A few years ago I knew it was time to dive in again. This time I made my own scoby from some leftover store-bought kombucha. Super simple, it just takes a little time and patience to wait for it to grow. Since that time, I have lost count of how many scoby (SCOBY stands for Symbiotic Culture Of Bacteria and Yeast) I have given away to other families. The gift that keeps giving!
The scoby is a slimy, rubbery, gross-looking pancake type thing that doesn’t look like it should belong anywhere in the kitchen.
To make a batch of kombucha here is what you will need:
Water (I use tap water, but we are also on our own well, so make the best choice for you)
Sugar(raw is best, though if I do not have any, just regular cane or beet sugar is fine, just make sure that you do not use any artificial sweeteners such as stevia or sweet-and-low, etc as they will not work)
Caffeinated tea (organic is best, but any black, green, oolong, or white tea will also work)
Kombucha from a previous batch (can be homemade or store-bought)
Scoby*
*If you want to try your hand at making your own scoby, simply buy a bottle of kombucha at the store (I used GTs ginger). You can drink most of it then just leave about ½ cup of kombucha in a pint jar. Let the jar sit for 1-4 weeks on the counter but do not have the lid on tight (better yet, use a paper towel and rubber band to cover the jar so it can breathe but keep the bugs out). Check it after a week then every few days thereafter. You should start to see bubbles forming on the surface which will start to form a skin or transparent layer. Eventually, this will thicken and once it gets to be about ⅛-¼ inch thick, you have your baby scoby! You can then take it, make a small batch of kombucha, and slowly build up to larger batches.
You will need a container for brewing your kombucha. This is what I use: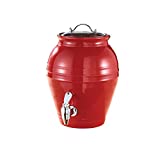
It is a 1 1/2 gallon crock beverage dispenser with a spigot that I got from Amazon 10 years ago. It has a glass lid, but does not seal tight, which is exactly what you want! You will also want to keep your kombucha out of direct sunlight, which is another reason I chose this particular container instead of a glass one.
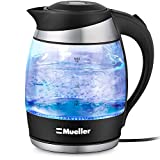
I like to use my electric kettle to boil my water quickly. This is the one I use:
You will also need some swing-top glass bottles. I purchased mine locally (and they’re usually pretty easy to find if you have a store that carries brewing equipment). Or you can purchase them here.

Sometimes they appear to be cheaper online, but the shipping is usually pretty expensive for the heavy glass, but check prices to compare.
To make the kombucha
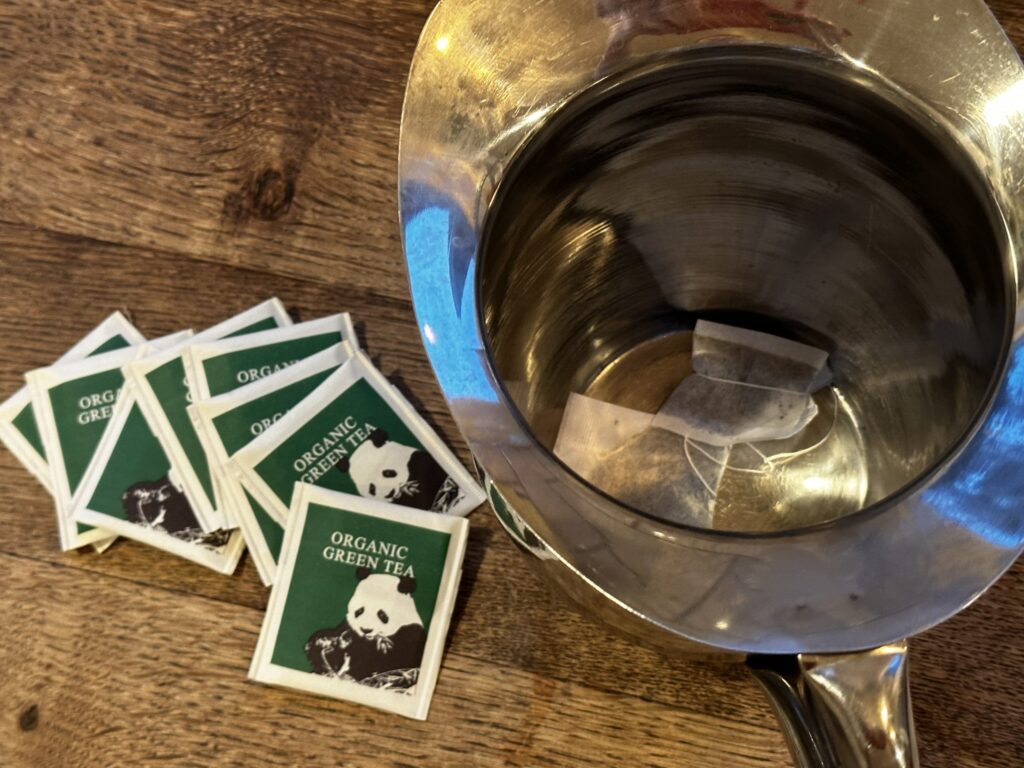
Make a strong sweet tea and let it cool. I usually take 8-10 tea bags, 1 cup of sugar, and 1 gallon of boiling water.
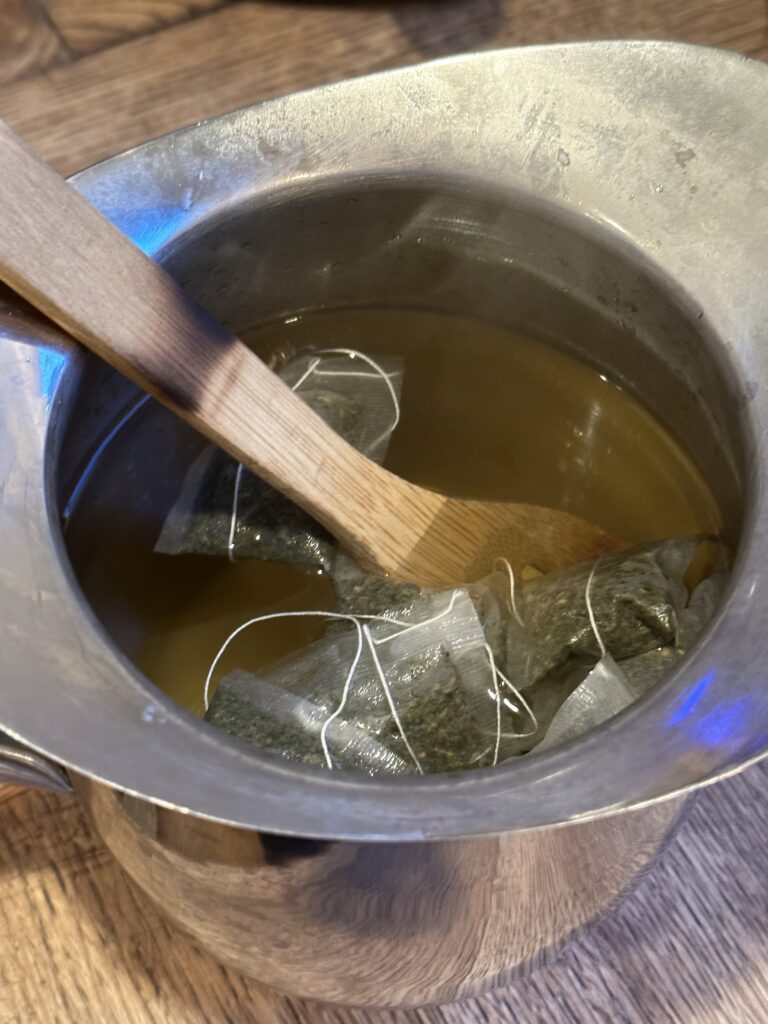
Let that sit on the counter for a few hours, remove the tea bags, pour into the kombucha crock, and top off with cool water. You’ll want to keep your kombucha at around 70°F – 75°F. Keep in mind that kombucha will ferment faster at higher temperatures and slower at lower temperatures.
Let the kombucha ferment for one to three weeks. While fermenting the scoby is actually “eating” the sugar in the sweet tea, the kombucha will become more tart and tangy. Start taste testing the kombucha after a week (just use the spigot and pour a small amount into a glass). I have found that everyone has slightly different preferences for taste, so when it is good for you it is time to bottle!
You will need to make sure to reserve some kombucha liquid for your next batch, I aim to keep about 2 cups.
When I am bottling, I set my crock over the sink and individually fill the swing-top bottles.
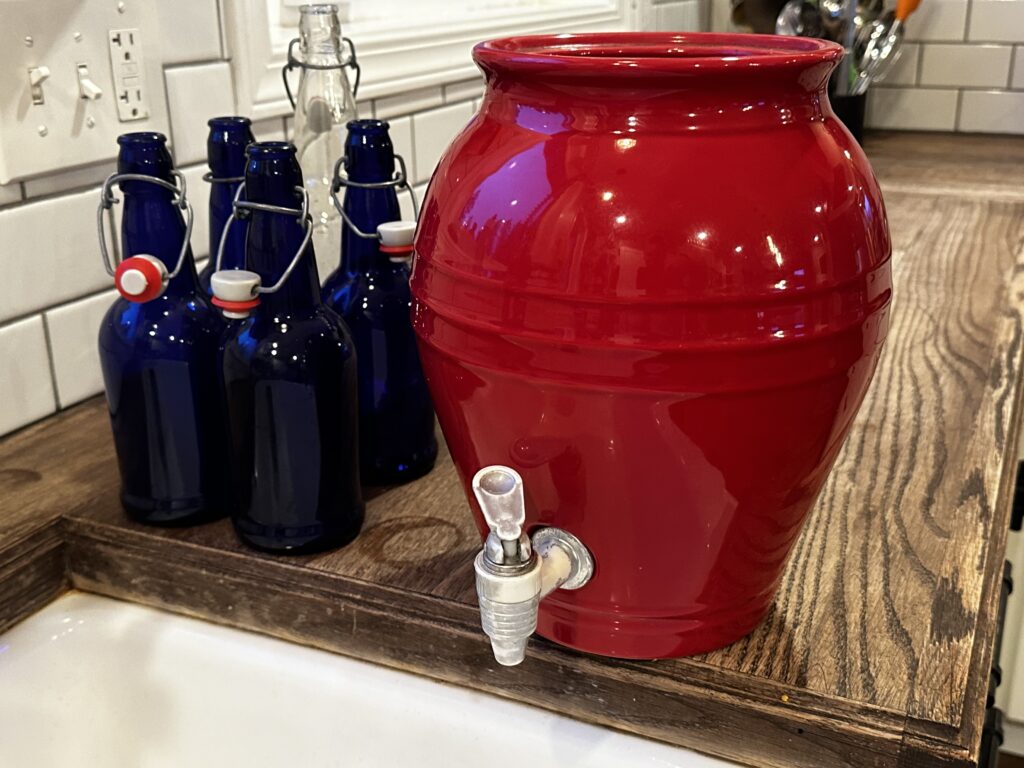
Secure the caps and leave them to sit at room temperature on your kitchen counter for 1-5 days so that they can build carbonation.
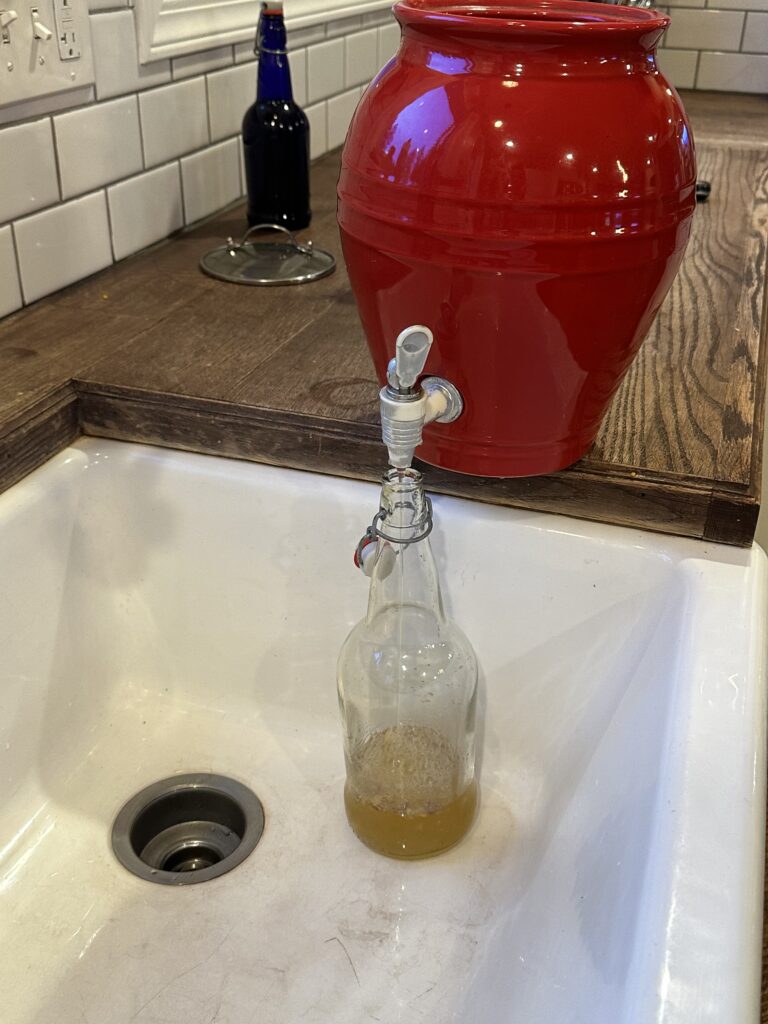
After about 3 days you can check one of the bottles by opening it. You’ll want to hear the pop and look for the bubbles to see if you have the carbonation you want. Place the bottles in the refrigerator and enjoy!
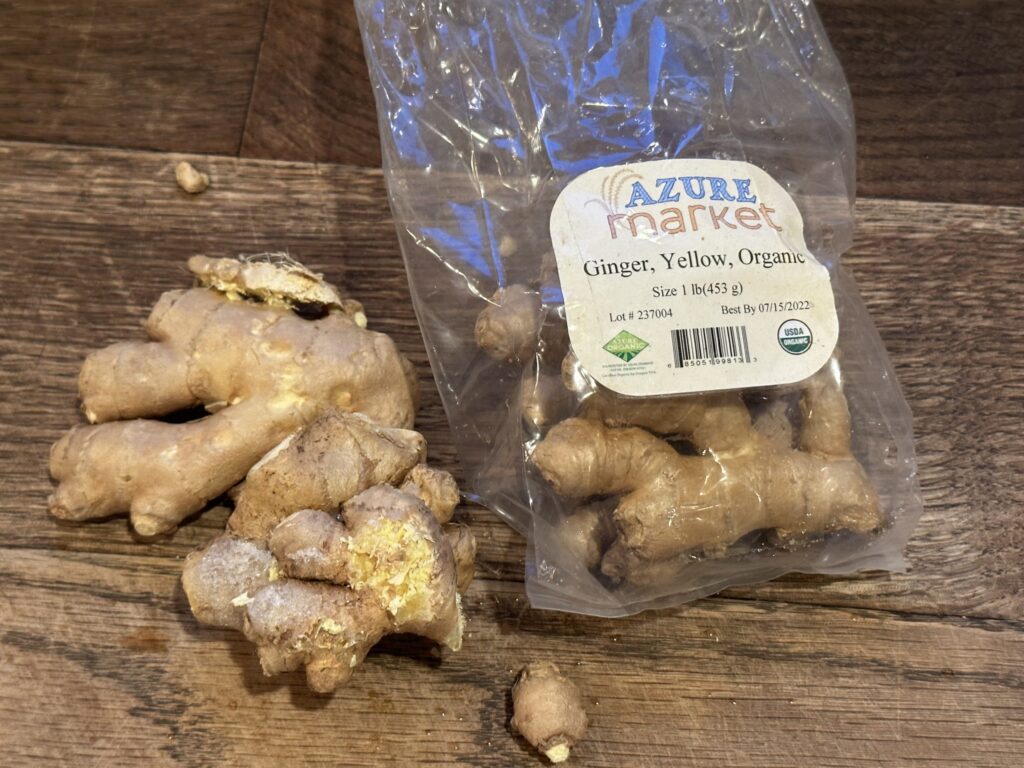
Now if you’re looking for flavored kombucha, the possibilities are endless, so have some fun! When you’re bottling your kombucha, you just add a small amount of juice (or whatever you’re using) to each bottle. You’ll probably need about ¼ cup of juice, but flavor to your preferred taste. Fresh ginger is also an excellent choice and another favorite of ours is using root beer flavoring.
Once you have your batch bottled, you’re ready to start again with your next batch!
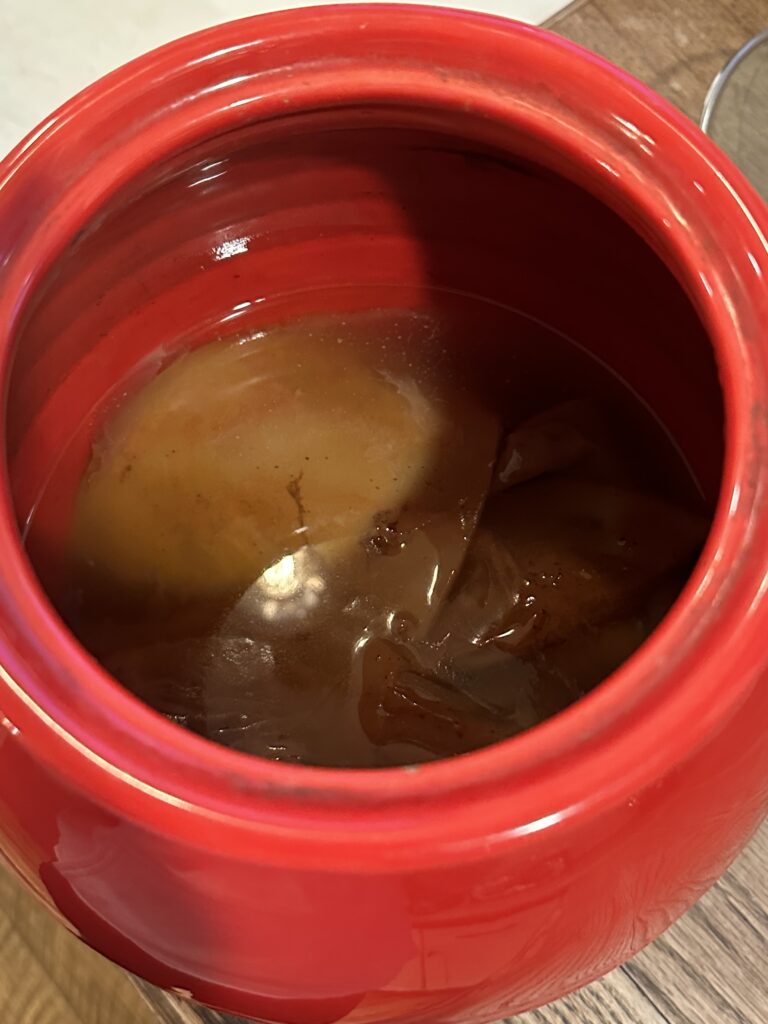
Your scoby will grow to the size of the container you use, then will add a layer for each batch you prepare. You can peel off the new layer and give it to a friend, use it to start another batch of kombucha, compost it, throw it away, eat it, just leave it and let it get pretty thick, or even create a “scoby hotel” to save for a later date. I typically leave mine until it gets obnoxious then I throw it in a scoby hotel or give it to a friend. You can also just cut your scoby if you want to share it with a friend, then it’ll grow to your container size again.
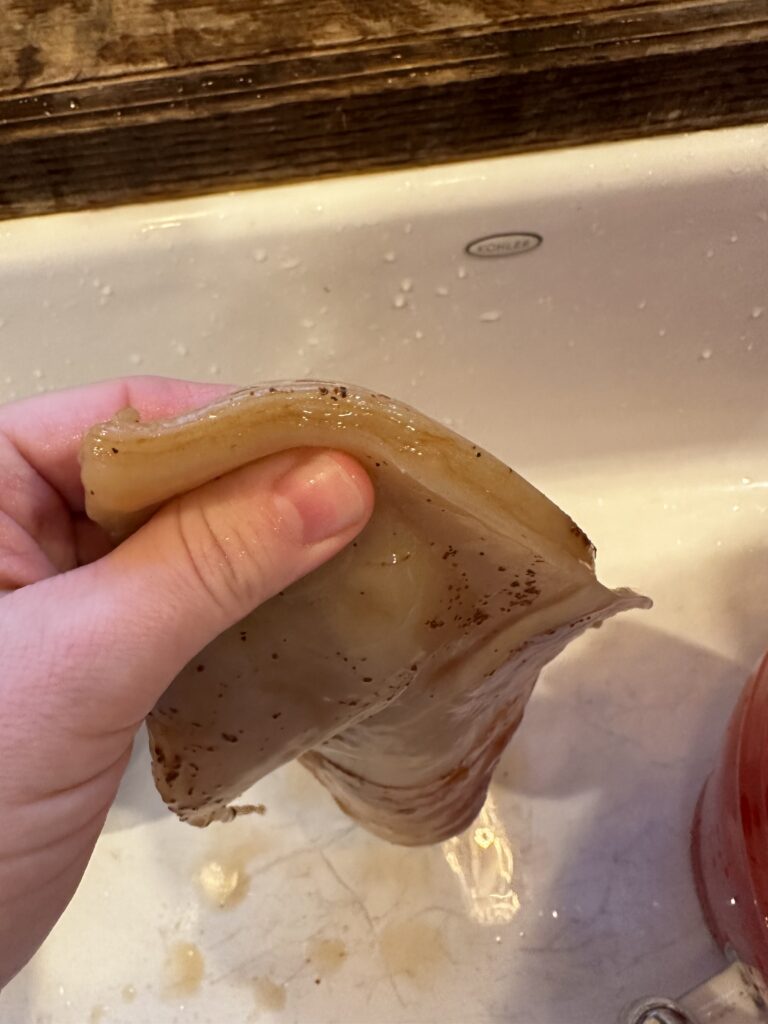
Now let’s talk about scoby hotels. What they are is just a home or “hotel” for your scoby to live if you want to take a break from making kombucha, want to store extra scoby (I like to have extra for backup – just in case), a place to store them until someone else needs one! To make a hotel, I like to use a gallon glass jar, make your sweetened tea, and place your extra scoby inside. I do use an airtight lid on the hotels and then add scoby as desired. I’ll then place my jar in a lower dark cabinet and essentially forget about it. I’ve kept them successfully in the hotel for months on end (maybe longer!) without any issues. The tea in the hotel will taste like vinegar, but it is perfectly fine and you can use a small amount of that liquid in starting a new batch!
Kombucha
Equipment
- water
- sugar raw, beet or cane
- caffeinated tea organic is best, or black, green, oolong or white
- kombucha
- scoby
Materials
- crock or container
- swing-top glass bottles
Instructions
- Make a strong sweet tea and let it cool. I usually take 8-10 tea bags, 1 cup of sugar, and boiling water. Let sit on the counter for a few hours to steep and cool, remove the tea bags and pour into your kombucha crock and top off with cool water. Keep at room temperature, about 70-75°F, for one to three weeks.

You May Also Like
HOW TO MAKE GHEE
April 19, 2024
